How to Photograph Lightning Safely: Complete Guide
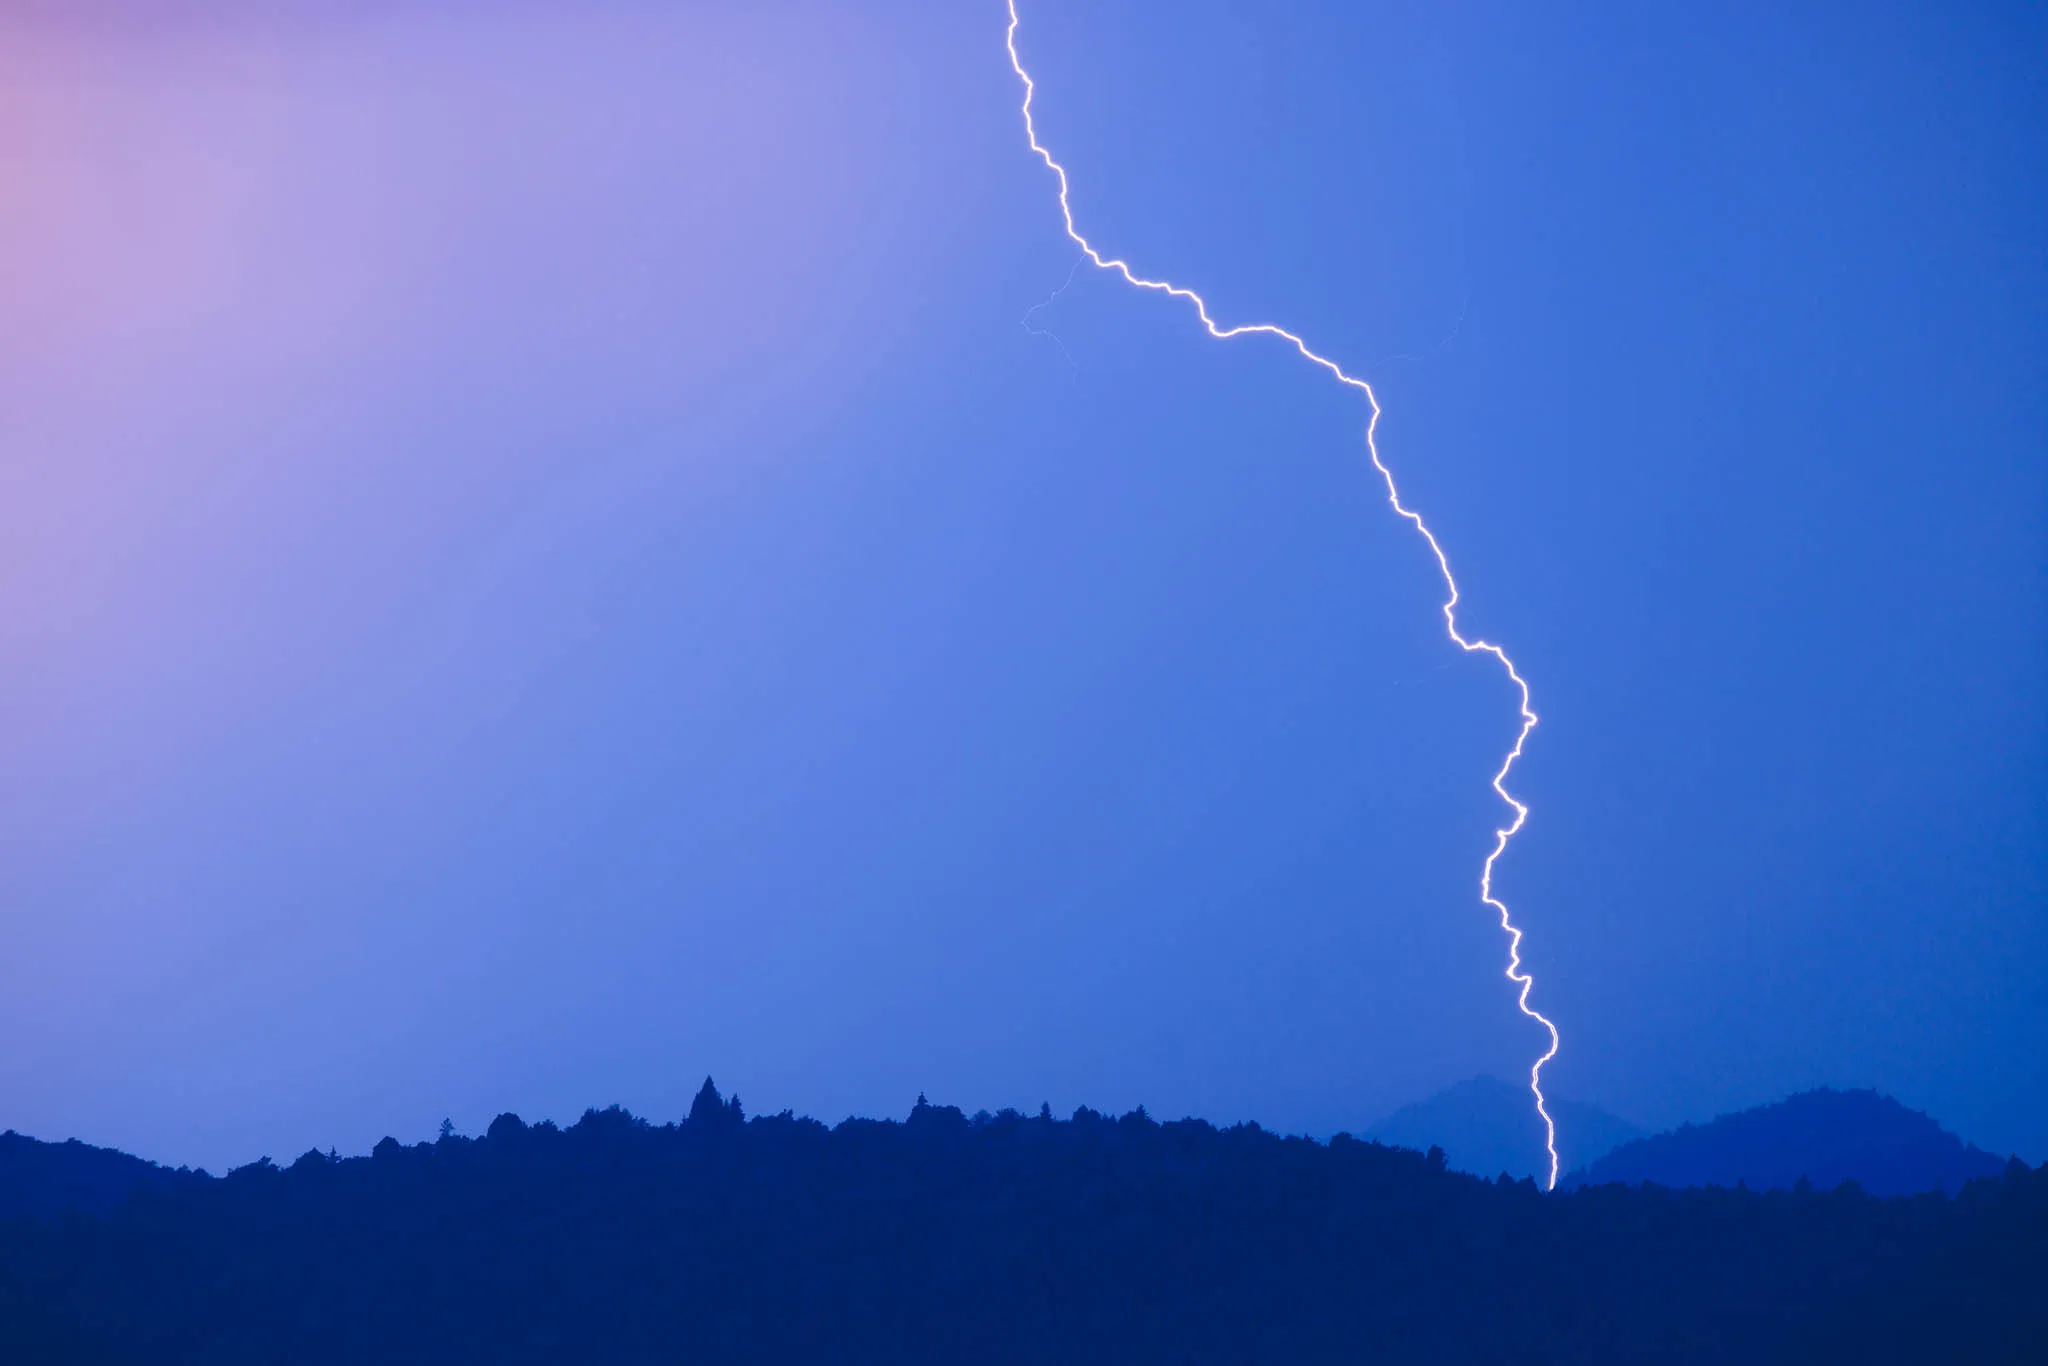
A good lightning photo looks as dramatic as it was to take — branching bolts, a cloud lit up from inside, a whole sky captured in a fraction of a second. It’s a genre that rewards preparation more than luck.
It’s also one of the few genres where the biggest threat to your shot can also hurt you. This guide covers getting the shot and staying safe while you do it, including how to run your whole setup remotely with Shutter+, so you’re shooting from your car or a window instead of standing next to your tripod.
Quick answer: When completely dark, set your camera up on a tripod facing the storm, switch to manual focus at infinity, and dial in a 20–30 second exposure at ISO 200 and around f/8–f/11. Start an intervalometer to repeat exposure back-to-back for as long as the storm lasts, then walk away from the equipment entirely — into a nearby car or a building — and control everything remotely from there with an app like Shutter+. Once lightning is within earshot, never stand beside your tripod again until the storm has passed.
If you are shooting a lightning storm at dusk or dawn, then set your exposure accordingly so you don’t overexpose the scene. Use your in-camera light meter and histogram to determine the correct exposure for the scene. Either use full manual, or aperture priority. You can easily adjust these as the light changes from the Shutter+ app without needing to return to your camera. Remember that when shooting at dusk it will get darker through each exposure, and vice-versa for dawn.
Is It Safe to Photograph Lightning? Read This Before You Head Out
Short answer: yes, but only if you plan for it before the storm arrives instead of improvising once it’s overhead.
The National Weather Service doesn’t hedge on this one: there is no safe place outdoors during a thunderstorm. Lightning kills an estimated 20–30 people in the US every year and injures hundreds more, and photographers are disproportionately represented in those numbers for the same reason golfers and outdoor workers are — they’re often the ones who stay outside longest trying to get one more shot.
A few rules worth treating as non-negotiable:
-
Use the 30/30 rule. If fewer than 30 seconds pass between seeing a flash and hearing the thunder, the storm is close enough to strike you — get to shelter immediately. Don’t go back out until 30 minutes after the last rumble of thunder.
-
Shelter properly. The only two places considered safe during a storm are a substantial building (one with wiring and plumbing) or an enclosed vehicle with a hard, metal roof and the windows rolled up.
-
If you’re in the car, don’t touch anything metal connected to the outside — the steering wheel, door handles, the window frames — while the storm is nearby.
-
Estimate distance by counting. Count the seconds between the flash and the thunder, then divide by five. That’s roughly how many miles away the storm is.
Why standing next to your tripod is actually dangerous
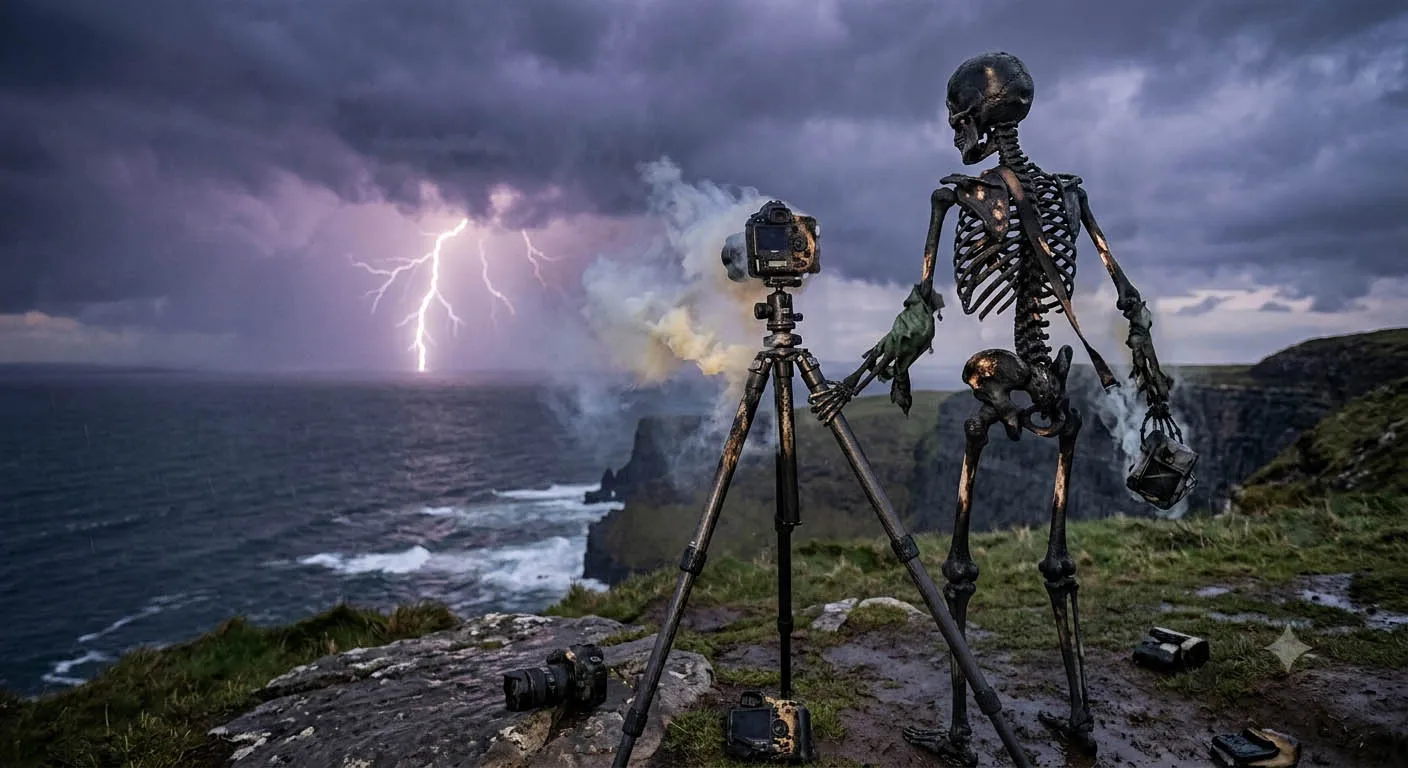
Quick myth check: a metal tripod doesn’t “attract” lightning. Height, shape, and isolation determine where a bolt strikes, not what something’s made of; a wooden tripod in the same spot would be just as exposed.
That doesn’t make standing next to your gear safe. Getting a clear view of the sky usually means setting up somewhere open, elevated, and unobstructed, which is the kind of isolated spot lightning tends to hit anyway. And metal conducts electricity extremely well, so if a strike does land on your tripod, a nearby tree, or the ground close to you, standing beside it — or holding it — puts you right in the path of that current.
Set a tripod up in an open field during a storm and it’s sitting where a lightning rod would: tall, isolated, with nothing nearby to take a hit instead. Stay next to it once lightning is close, and you’re standing in the same spot.
Which is the whole point of controlling the camera remotely. Once your composition, focus, and exposure are set, there’s no reason left to stand at the tripod. Shutter+ lets you keep shooting, change settings, check exposure, and fire the shutter from inside your car or a building, without going near the equipment again until the storm has cleared.
More things to stay away from
-
Isolated trees or the tallest object around. If a nearby tree or pole gets struck, the current can jump (“side flash”) or travel through the ground to anyone standing close by.
-
Open fields, hilltops, and high ground. Same principle — don’t be the tallest or most exposed thing in the area.
-
Water, and wet ropes or fences. Excellent conductors, and lightning’s ground current can travel a surprising distance through wet ground.
-
Shooting from underneath the storm. Aim to photograph from the edge of a storm cell rather than its core. It’s both safer and produces cleaner images, since you’re less likely to be shooting through heavy rain.
This article covers photography technique — for full, up-to-date safety guidance, see the National Weather Service at weather.gov/safety/lightning, and always defer to your own judgment on the day.
What You Need for Lightning Photography
You don’t need specialized gear to get started. Most of this is standard landscape-photography kit, plus one addition that changes how safely you can shoot.
-
A camera with manual exposure control. Any DSLR or mirrorless camera that lets you set shutter speed, aperture, and ISO manually will work.
-
A sturdy tripod. Non-negotiable for exposures of several seconds or longer. Extend the thickest leg sections first, and do not use the centre column at all.
-
A wide-to-standard lens. Something in the 14–35mm range covers more sky, which means better odds of catching a bolt somewhere in the frame. If the storm is further off, a mid-range or short telephoto (up to around 200mm) fills the frame more dramatically. Although you can try to anticipate where lightning will strike based, it is safer to compose for more sky in order to maximise your chances of catching a good bolt of lightning. You can always crop later, but you can’t add.
-
A remote shutter release, ideally with an intervalometer. Nothing else on this list does as much for both safety and success. Pressing the shutter by hand introduces vibration and, more importantly, means someone has to be standing at the camera. Shutter+ replaces a cabled remote or a separate intervalometer gadget entirely — a full intervalometer, timed BULB exposures, live view, and a remote histogram, all from your phone, over Wi-Fi on Sony, Canon, and Fujifilm cameras.
-
A neutral density (ND) filter. Only needed for daytime lightning, to slow your shutter down without overexposing the scene.
-
A weather radar app. Track the storm’s speed and direction so you know how much shooting time you have left, and exactly when to stop.
Best Camera Settings for Photographing Lightning
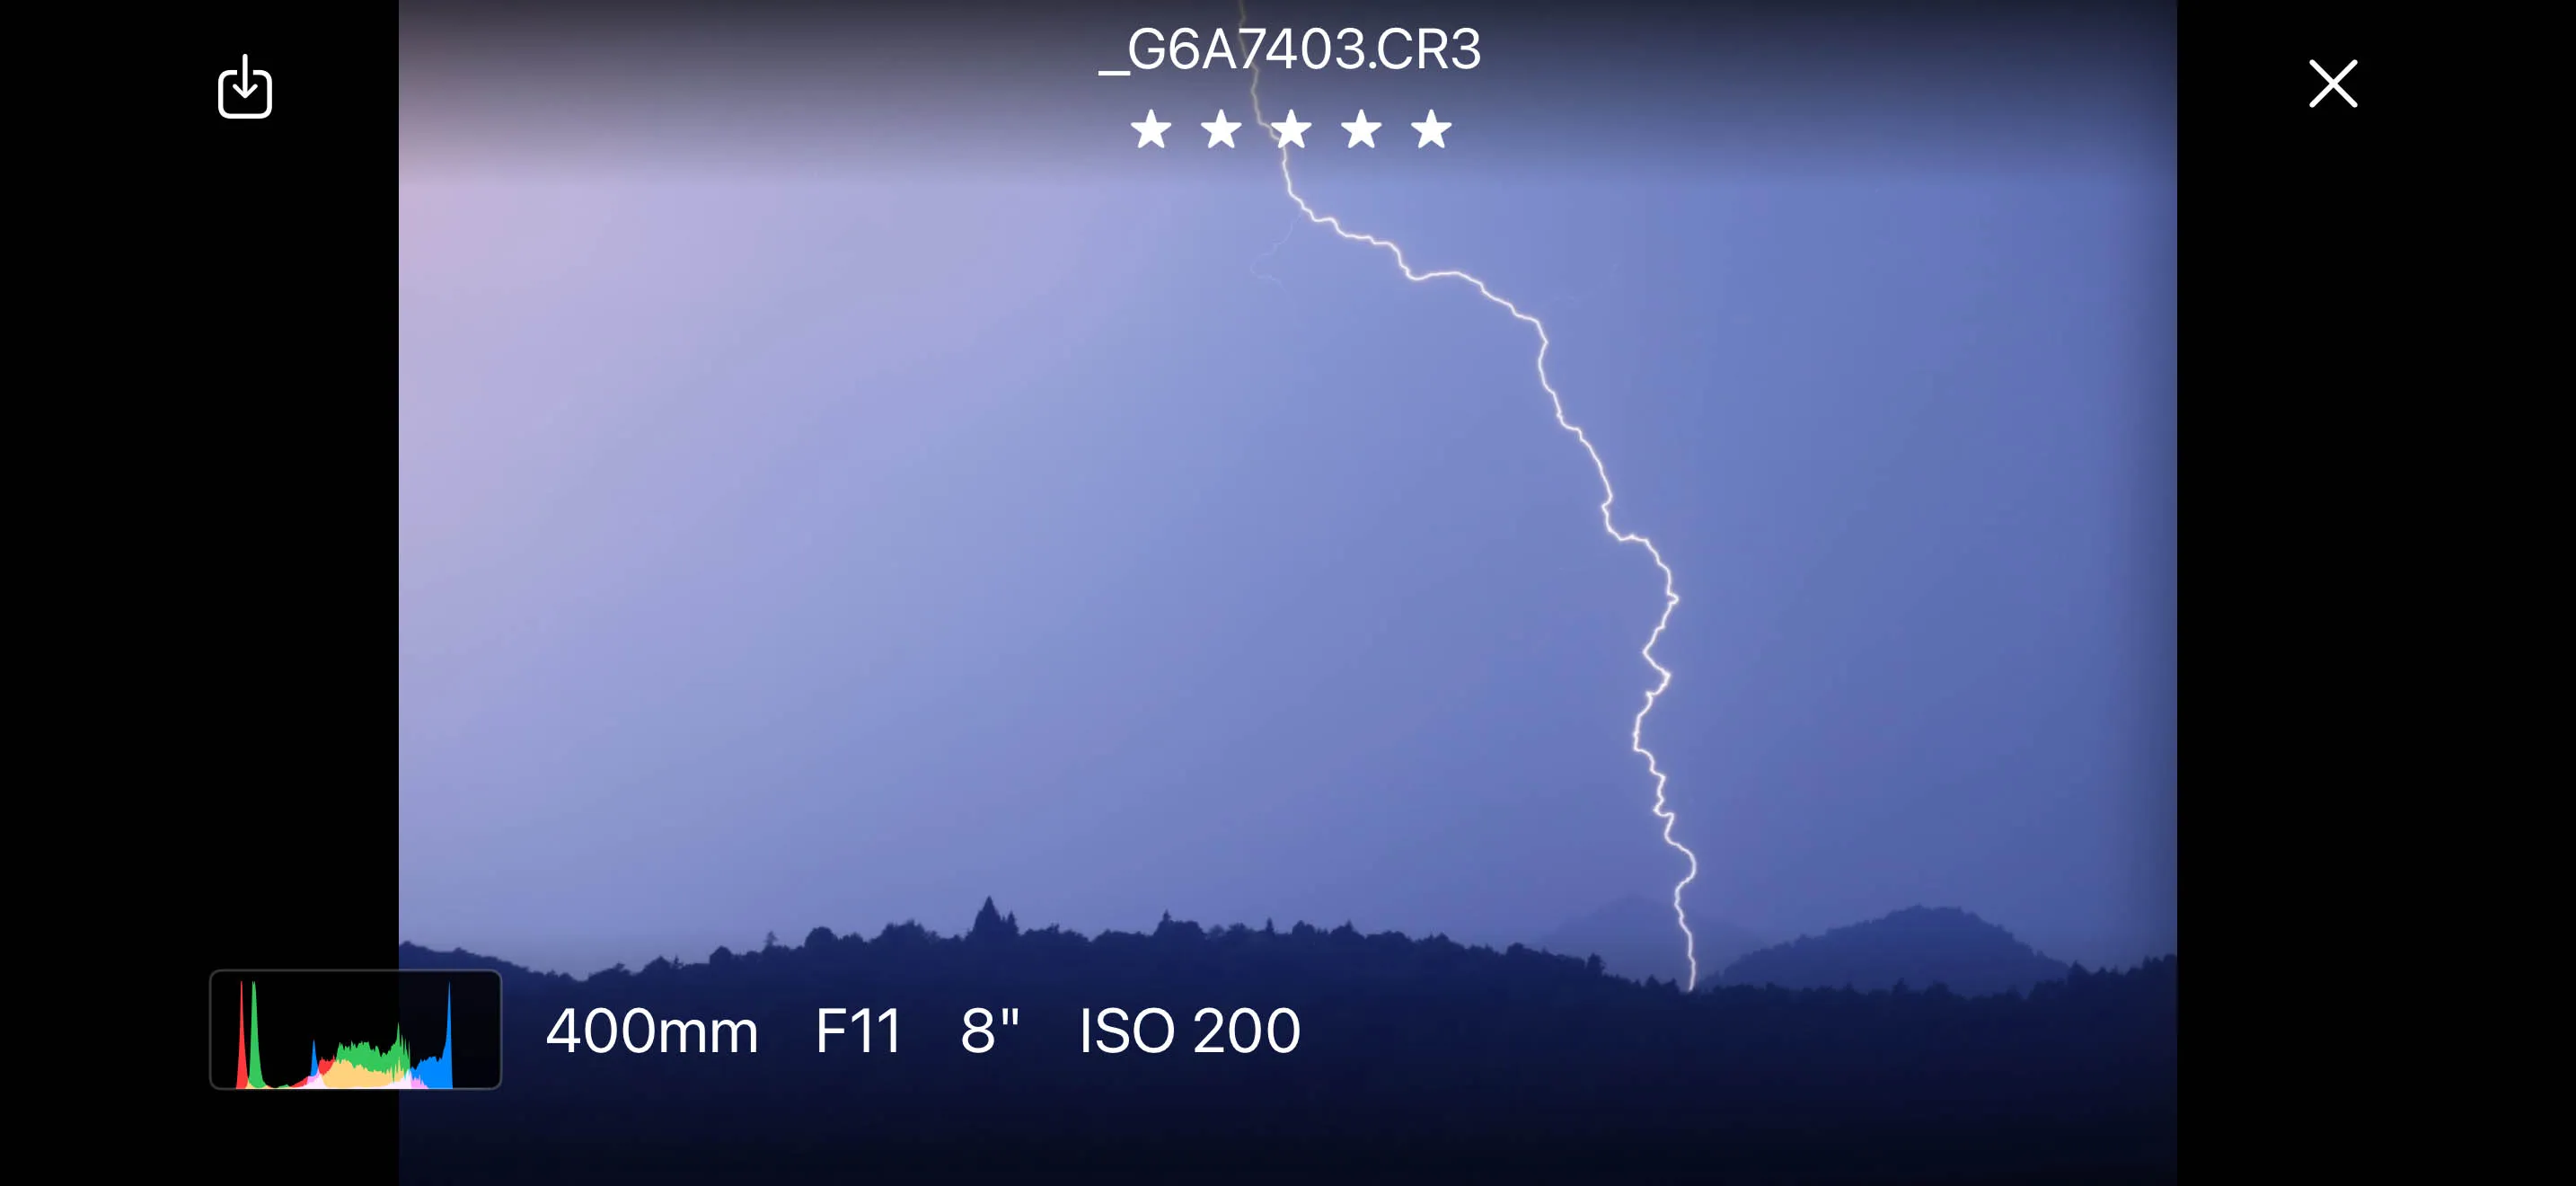
Settings shift with how dark the sky is and how far away the storm sits, but this is a solid starting point for shooting at night:
-
Mode: Manual (M)
-
ISO: 200
-
Aperture: Start around f/8–f/11
-
Shutter speed: 20–30 seconds, or BULB if you want more control over the exact length. One thing to be careful of though, is that superlong exposures can introduce noise and hot spots as the sensor tends to get hot. So try not to go over 1 minute for each exposure.
-
Focus: Manual, set to infinity
-
Image stabilization: Off — on a tripod, it can introduce its own micro-vibrations
-
File format: RAW, for more room to recover highlight and shadow detail afterward
A few things to note:
Focus is where most beginners go wrong. Skip autofocus entirely — in the dark or even low light, it will hunt endlessly and may never lock on. Instead, switch to live view, zoom in digitally on a distant light source (a star, a tower light, a streetlamp miles away), and turn the focus ring manually until it’s sharp.
Check your first few frames and adjust. If a bolt looks blown out and shapeless, close down the aperture (f/8 → f/11) or lower the ISO. If the sky looks muddy and the bolt looks weak, do the opposite, or lengthen the exposure.
Daytime lightning is a different problem. You can’t leave a 20-second exposure open in broad daylight without badly overexposing the shot, so your best bet is to put on an ND filter and use a narrower aperture (f/13–f/22) to get longer exposures.
Why You Can’t “React” to Lightning — and What to Do Instead
This is the core idea behind lightning photography, and it’s why every experienced lightning photographer shoots with an intervalometer instead of watching the sky with a finger hovering over the shutter button.
A visible flash is over in a fraction of a second. Even a fast human reaction to something you see is around 200 milliseconds at best, and by the time that signal reaches your finger, presses the button, and the camera itself responds, the bolt has already come and gone. You will not react in time. Nobody does.
So don’t try to. Open the shutter before anything happens and leave it open: one long exposure after another, back to back, with no gaps in between. Whatever happens in the sky during that window gets recorded automatically, whether you’re watching the screen or not.
That’s also why composition has to happen before the storm gives you anything to compose around. Watch which direction the storm is moving and where the strikes have been concentrated, then aim your frame at where lightning is likely to strike next — not where it just struck. You’re composing for the next few minutes, not the last few seconds.
How to Capture Lightning Safely with Shutter+
Once that idea clicks, the workflow itself is straightforward:
-
Set up and compose while it’s still safe — before the storm arrives, or during a lull the 30/30 rule says is clear. Frame your shot toward the direction the storm is moving, or wherever you’ve seen the most activity, and mount the camera securely. Don’t rush this step; it’s the only one you’ll be doing in person.
-
Nail focus manually, digitally zoom in on a distant light source and fine-tune the focus, then lock the lens to manual focus so it can’t hunt or drift later. Alternatively, just set your focus to infinity, as that is where the activity will be.
-
Dial in your base exposure in the app — ISO, aperture, and a 20–30 second shutter speed (or a timed BULB exposure, if you want finer control over the exact length).
-
Retreat to your car or a building. This is the point where your job at the tripod is done.
-
Start the intervalometer, set to repeat your exposure back-to-back — a one-second gap between frames is typical — for as long as the storm stays active. Your camera now shoots continuously, hands-free, for as long as it takes.
-
Keep watching the sky through live view on your phone rather than the camera’s LCD, so you can judge the storm’s direction and intensity without leaving shelter. On Shutter+ you can also preview the photos already taken while the camera is still shooting.
-
Check exposure remotely. Use the histogram or zebras in the app to see if a bright bolt is clipping highlights, or if you’re losing shadow detail, then adjust ISO, aperture, or shutter speed directly from your phone. You should never need to walk back to the camera just to change a setting.
-
Let it run in the background. Shutter+ keeps the connection alive even if you lock your phone or switch apps, so you can check radar, wait it out, or just sit tight without babysitting the connection.
-
Review and download once it’s over — and it’s been at least 30 minutes since the last thunder. Browse your favourite frames from your phone first, so you know what to grab before you head back out to the camera.
Composition Tips: Anticipating Where Lightning Will Strike
Since you can’t react to a bolt after it happens, every good lightning photo is really a bet placed in advance. A few ways to shorten the odds:
-
Watch before you shoot. Spend a few minutes observing where lightning is actually occurring within the storm before committing to a composition.
-
Aim at the active cell, not the whole sky. A storm usually has one area producing most of the strikes — typically the darkest, most turbulent-looking part of the cloud base.
-
Include a foreground. A skyline, a lone building, a ridgeline — anything that gives the bolt scale and turns “streak of light” into an actual landscape photo.
-
Leave room in the frame. Don’t compose so tight that a bolt landing slightly off from where you expect gets clipped at the edge. You can always crop later.
-
Shoot across the storm’s path, not into it. Positioning yourself to the side of where the storm is heading, rather than directly in front of it, tends to buy you a longer, safer viewing window and a better angle on the bolts themselves.
Frequently Asked Questions
Is it safe to photograph a lightning storm?
It can be, as long as you’re not the one standing outside next to the camera. Set up your composition, retreat to a substantial building or a hard-topped vehicle, and control the camera remotely from there. There’s no safe spot outdoors once a storm is close enough to see lightning from.
How far away should you be to photograph lightning safely?
If you can hear thunder at all, the storm is within striking distance — that’s your cue to already be sheltering, with the camera running unattended. Many photographers aim to shoot storms from the edge rather than from underneath them, which is both safer and produces cleaner images.
Does a metal tripod attract lightning?
No — that’s a common myth. Height, shape, and isolation determine where lightning strikes, not what something’s made of. But a tripod set up in an open spot for a clear sky view is usually the tallest, most exposed thing around, and metal conducts a strike’s current extremely well — so standing close to it, or touching it, when lightning is nearby is a bad idea.
What are the best camera settings for lightning photography?
A good starting point at night is manual mode, ISO 200, an aperture around f/8–f/11, and a shutter speed of 20–30 seconds, with focus set manually to infinity. Adjust from there — narrow the aperture or lower the ISO if bolts look overexposed, and do the opposite if the sky looks too dark.
What’s the best lens for photographing lightning?
A wide-angle lens (roughly 14–35mm) covers more sky and improves your odds of catching a bolt somewhere in the frame. For storms further away, a mid-range or short telephoto lens (up to around 200mm) fills the frame with a more compressed, dramatic-looking bolt.
Can I photograph lightning from inside my car?
Yes — a vehicle with a solid metal roof is one of the two shelter types the National Weather Service considers safe during a storm. Keep the windows up, avoid touching metal that connects to the outside, and control your camera on its tripod outside (or through the windshield) using a remote app.
How does an intervalometer help you capture lightning?
An intervalometer fires a new exposure automatically after the previous one ends, at a timed interval you set, so your camera shoots continuously for as long as the storm lasts. Since a lightning flash lasts a fraction of a second — far faster than you could ever manually react to — the only reliable way to capture one is to already have the shutter open when it happens.
Can you photograph lightning with a smartphone?
Some phones with a manual or “pro” camera mode and long-exposure support can capture lightning, especially at night. But a dedicated camera with full manual control, interchangeable lenses, and a real intervalometer — controlled remotely so you’re never standing next to it — will give you far more consistent, higher-quality results.
Try It for Yourself
Get your composition, focus, and exposure right before the storm peaks, then let the camera do the waiting for you.
Shutter+ puts everything in this guide into one app — a full intervalometer, timed BULB exposures, live view, remote histogram and zebras, and complete manual control over ISO, aperture, and shutter speed — for Sony, Canon, and Fujifilm cameras. Set your shot up, get back in the car, and watch the storm from somewhere it can’t reach you.
See supported cameras | Try Shutter+ free for 7 days
Related Articles: