Video Recording
Shutter+ lets you start and stop video recording remotely.
Recording
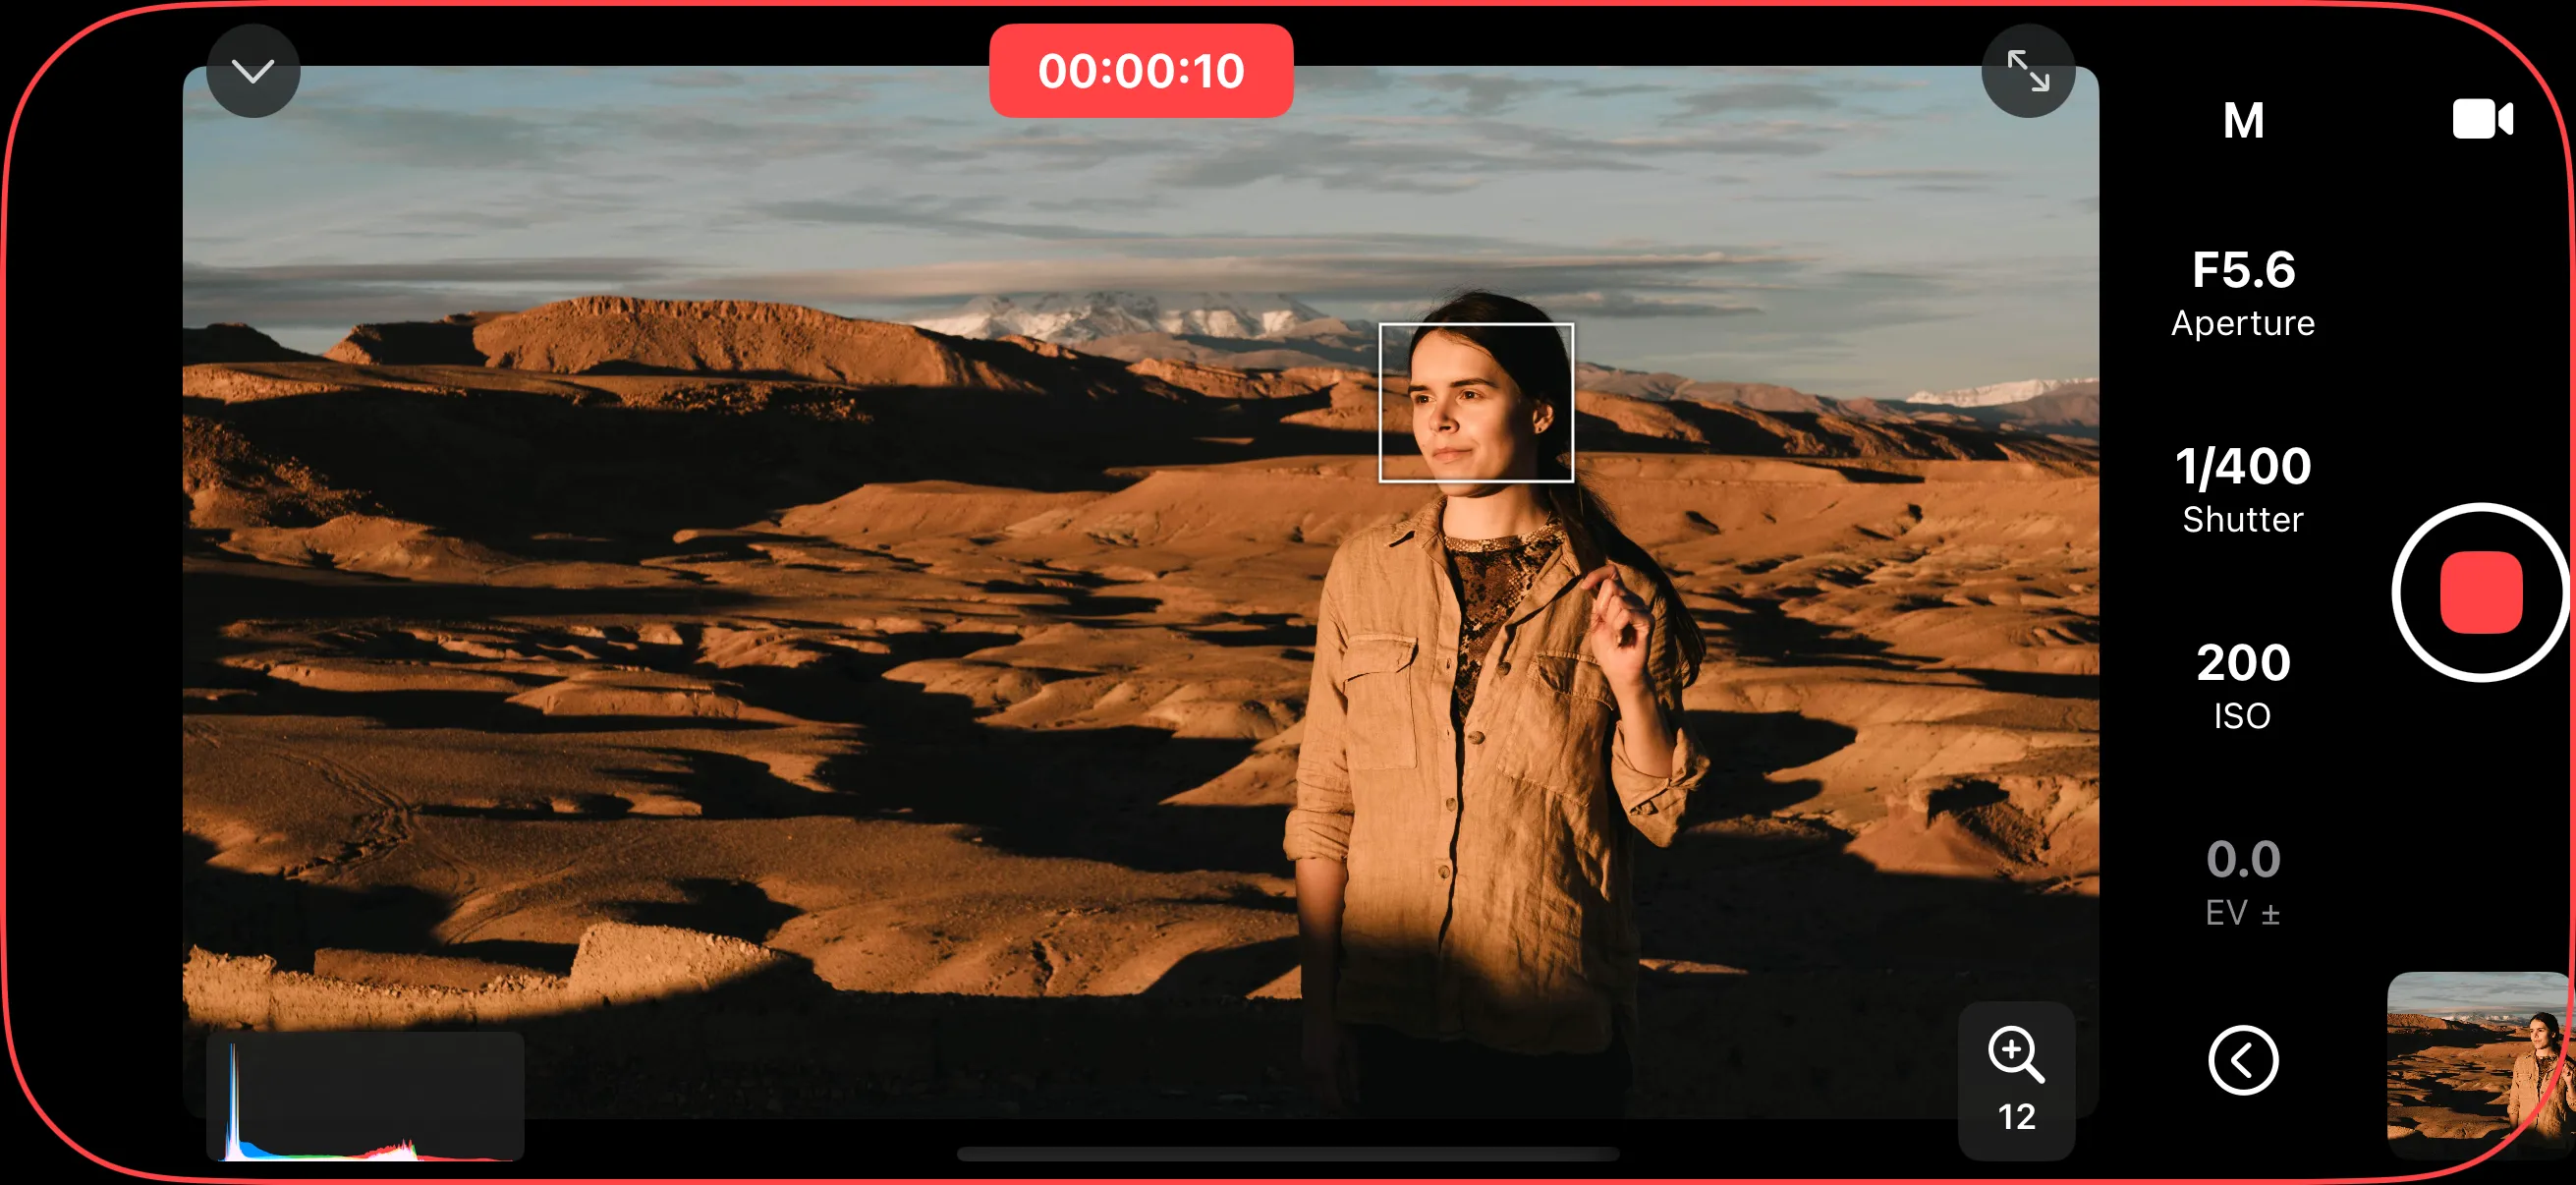
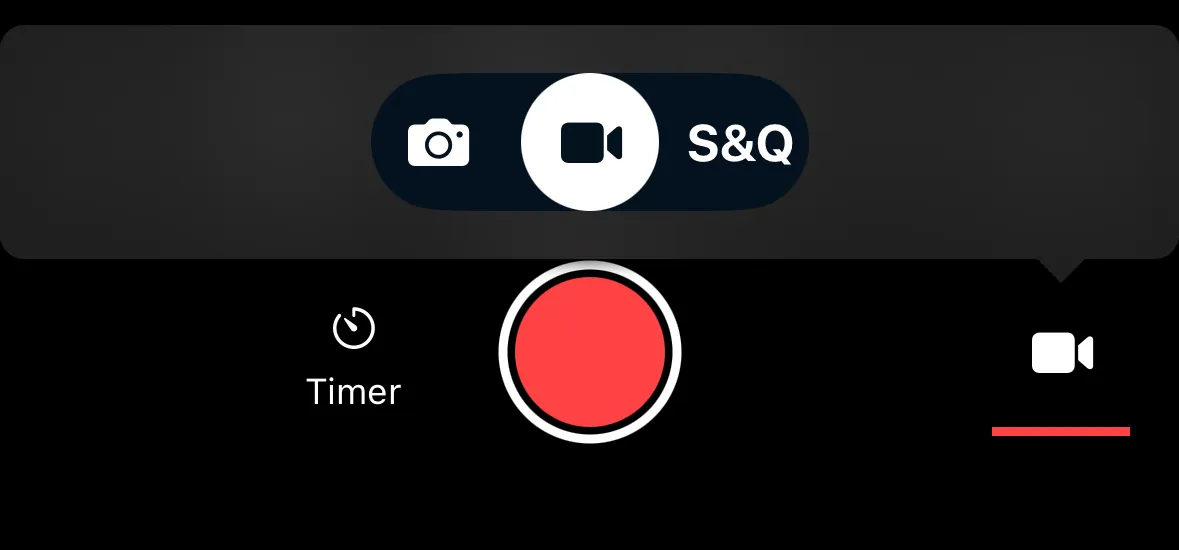
Switch to Video mode using the mode selector (see Shooting Modes). The shutter button changes to a record button. Tap it once to start recording and again to stop. While recording, the app displays a red telltale ring and elapsed recording time.
Video Monitoring Tools
A large, bright iPhone or iPad screen is great for video monitoring in both studio and outdoor settings. Oftentimes it’s cheaper, more convenient, and better quality than dedicated video monitors.
To fully leverage these possibilities, use USB tethering for lag-free shooting and best performance.
Shutter+ offers composition and exposure assist tools to help with video recording. You can use built-in histograms, zebra stripes, false color or LUT preview to ensure correct exposure. Focus peaking allows you to easily monitor and pull focus.
Recording Time Limit
You can set a maximum recording duration. When enabled, the camera stops recording automatically after the set time. This is useful when you need clips of a specific length.
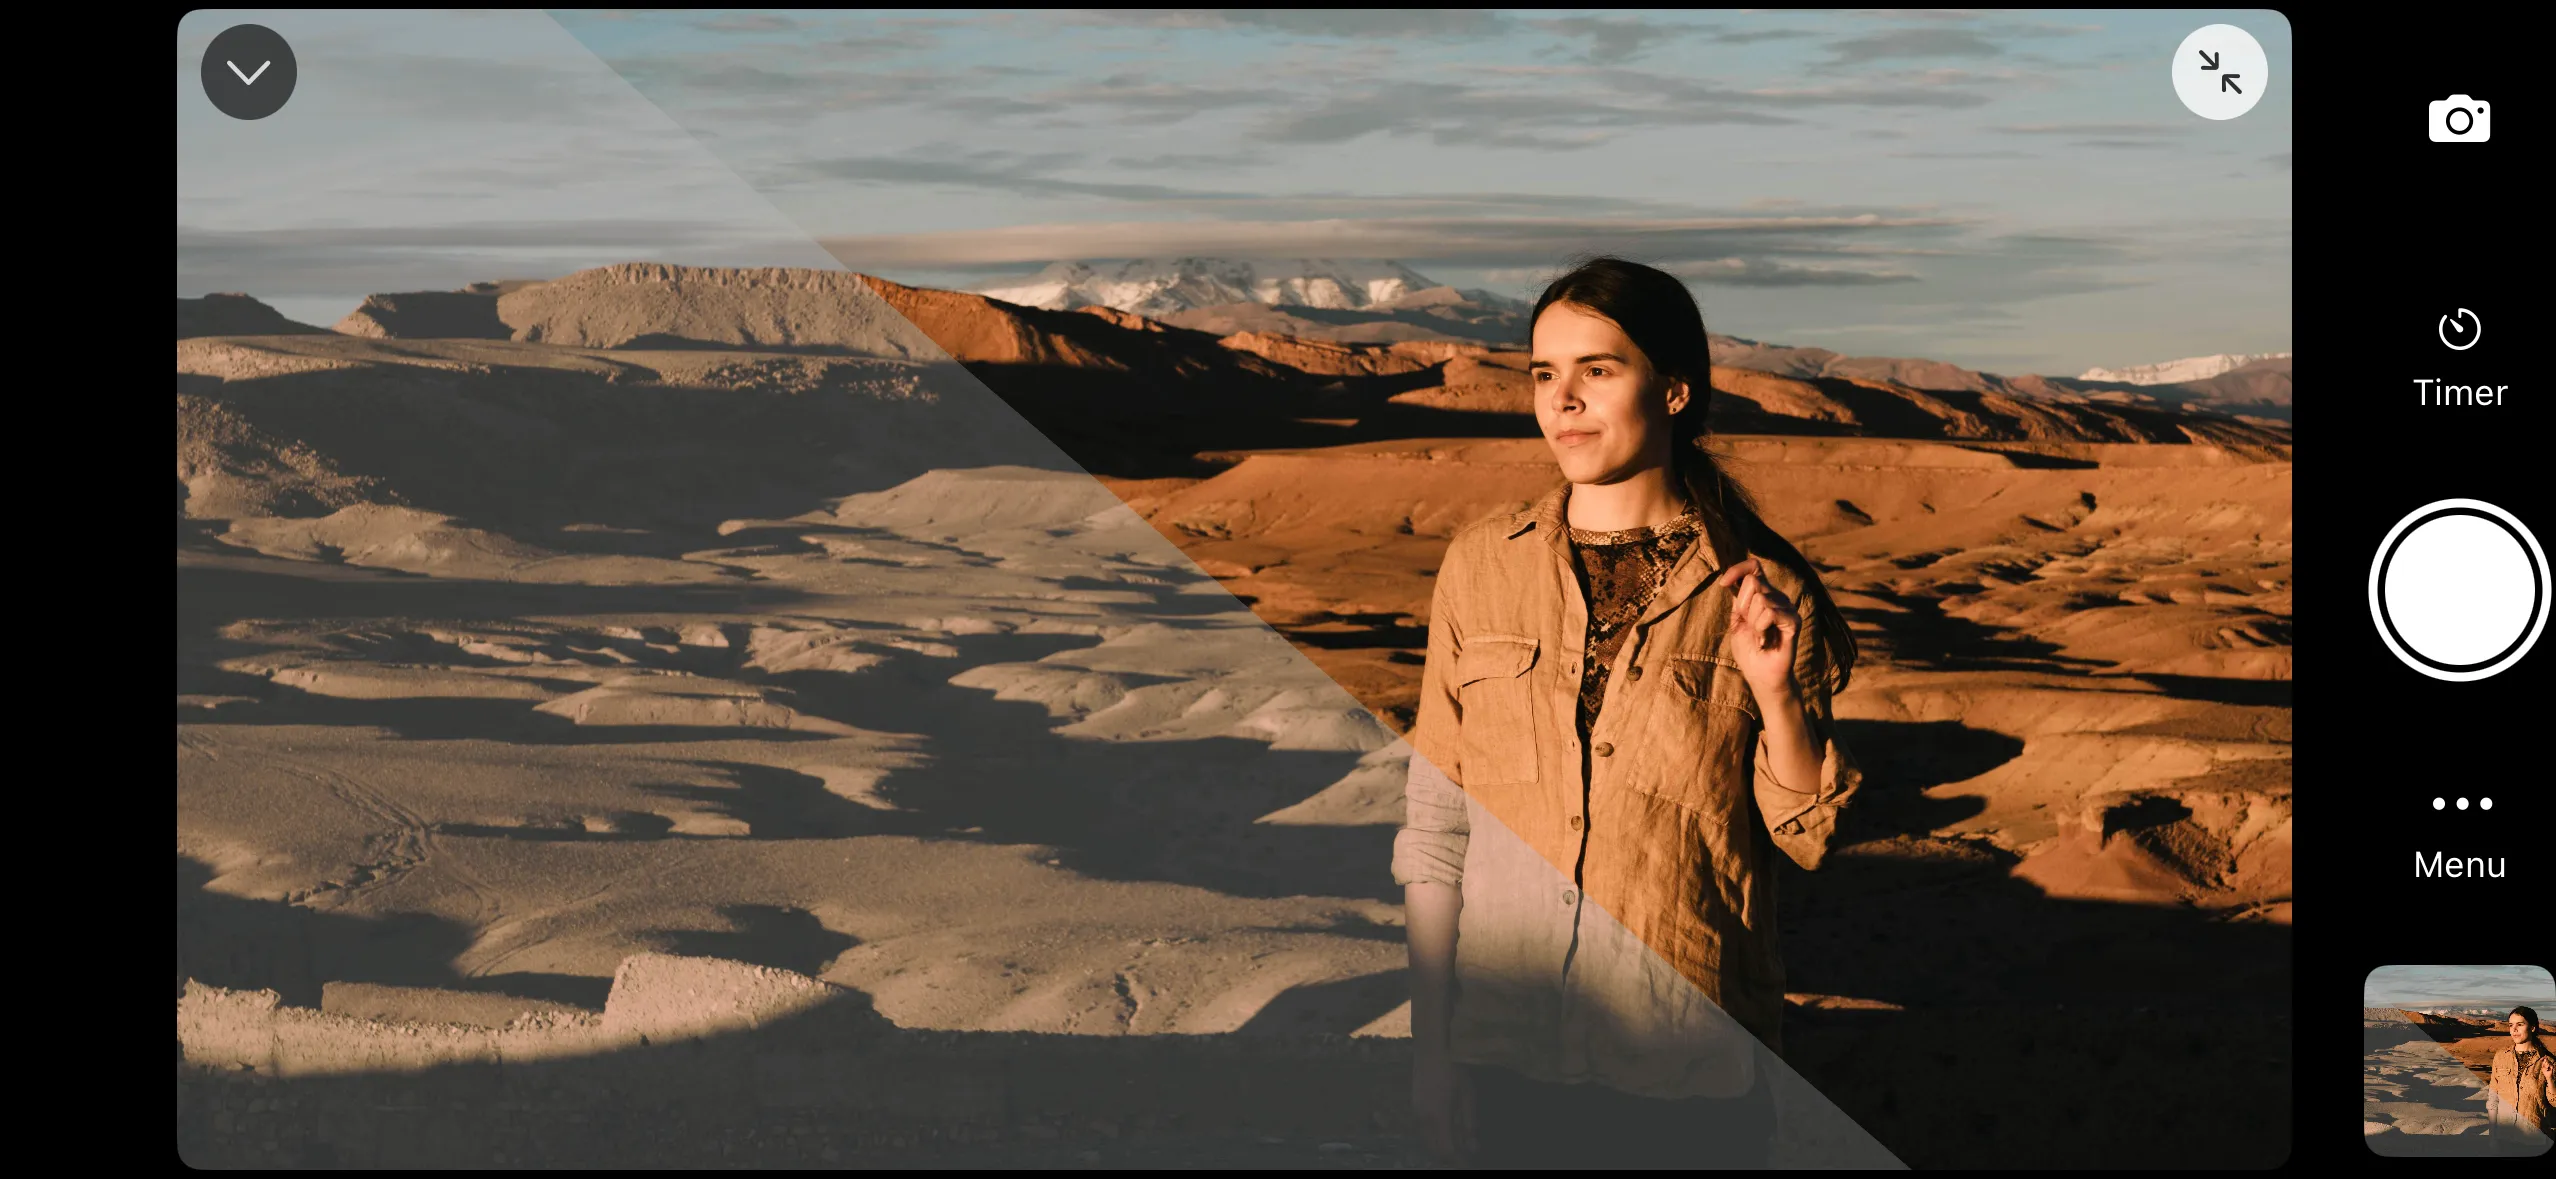
To configure the recording limit, open Timer controls next to the shutter release.
Video Modes
Depending on your camera, additional video modes may be available:
- Slow & Quick — records at a different frame rate than playback for slow-motion or time-lapse effects.
- High FPS — records at a high frame rate for slow-motion playback.
See Shooting Modes for details on switching between video modes.